
You have to create a badge template before printing badges. Separate templates are used for faculty and delegates and you can have only one template for each group. You can design the templates from scratch or use your predesigned template ( use blank template option in template design)
Go to Dashboard and select the course.
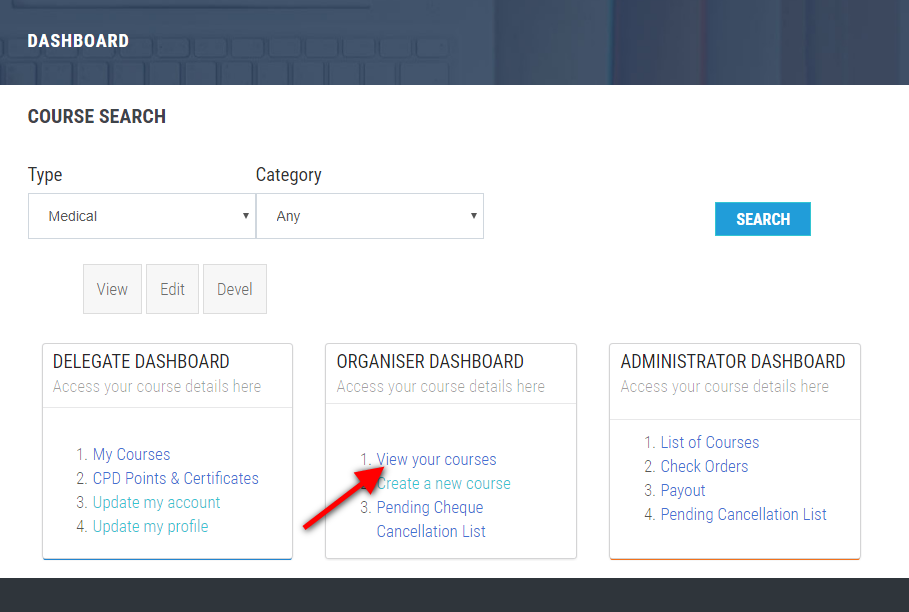

Select 'Badges' in course details page and then click ' Make template'.

Choose any one of the designs. Horizontal badge size is 3.5(w) x 3(h) inches and vertical badge size is 3(w) x 4(h) inches.If you already have a well designed template use the Blank template option. With this option all of your design will appear in the background and the delegate related data will be automatically filled when you 'issue badges'.

Give a name for the selected template and select whether this template is for 'Delegate' of 'Faculty'. Note the templates are saved with your course ID in front of the given name (e.g 21_name)
Title that appear on the badge can be customised. Some of the text such as name of the delegate, qr code and work place will automatically appear.

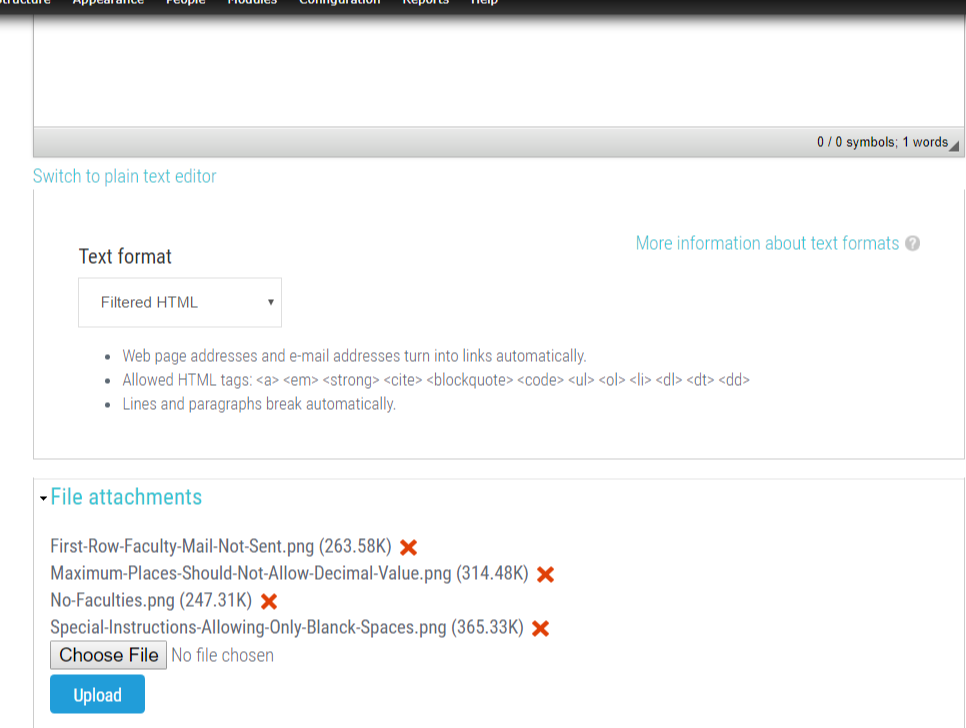
Upload images like logo and background images in this page. Save template.

Uploaded images appears in the relevant places in the badge and now the template is ready to be used. The preview of the template is shown. Click 'Edit template' if changes are required. On successful creation of a template, click 'Issue badges' link to issue badges to delegates or faculty.